


🎹 The Ultimate Guide to Piano Removals: 10 Tips and Tricks for a Smooth Transition
Moving a piano is not just about strength—it’s a complex operation that demands skill, planning, and the right equipment. Whether you’re moving house or relocating a cherished family heirloom, this guide offers expert advice to ensure a smooth and stress-free piano removal.
🎼 Why Piano Removals Require Special Attention
Pianos are delicate, heavy instruments that are both emotionally and financially valuable. Even the smallest mistake during transportation can lead to costly repairs or irreparable damage. Understanding the unique challenges of piano removals is the first step towards a successful move.
Common Risks During a Piano Move
Structural Damage: Cracked legs, broken pedals, or frame damage
Finish Scratches: Caused by poor padding or incorrect lifting
Tuning Disruptions: Shifts in temperature and movement affect sound
Injury Risk: Poor lifting techniques can lead to serious injury
📏 Tip #1: Understand Your Piano Type and Size
Before planning your move, identify the specific type of piano you’re transporting:
🪑 Upright Pianos
Compact and often easier to manoeuvre, upright pianos weigh between 300–800 lbs.
🛏 Grand and Baby Grand Pianos
Grand pianos can span over 9 feet and weigh up to 1,400 lbs. Their large, delicate frames often require partial disassembly for a safe move.
💻 Digital Pianos
Though lightweight and portable, digital pianos with wooden cabinets can still be bulky and awkward to carry.
Knowing the exact size and weight will help determine the number of movers, type of equipment, and size of the vehicle needed.
📐 Tip #2: Measure All Pathways and Access Points
Don’t leave anything to chance. Measure the height, width, and depth of your piano and compare it to:
Doorways
Staircases
Hallways
Lifts
Entry/exit points
Remove obstacles like rugs, lamps, or furniture. Always plan your route in advance.
🧰 Tip #3: Gather the Right Equipment
To move a piano safely, you’ll need:
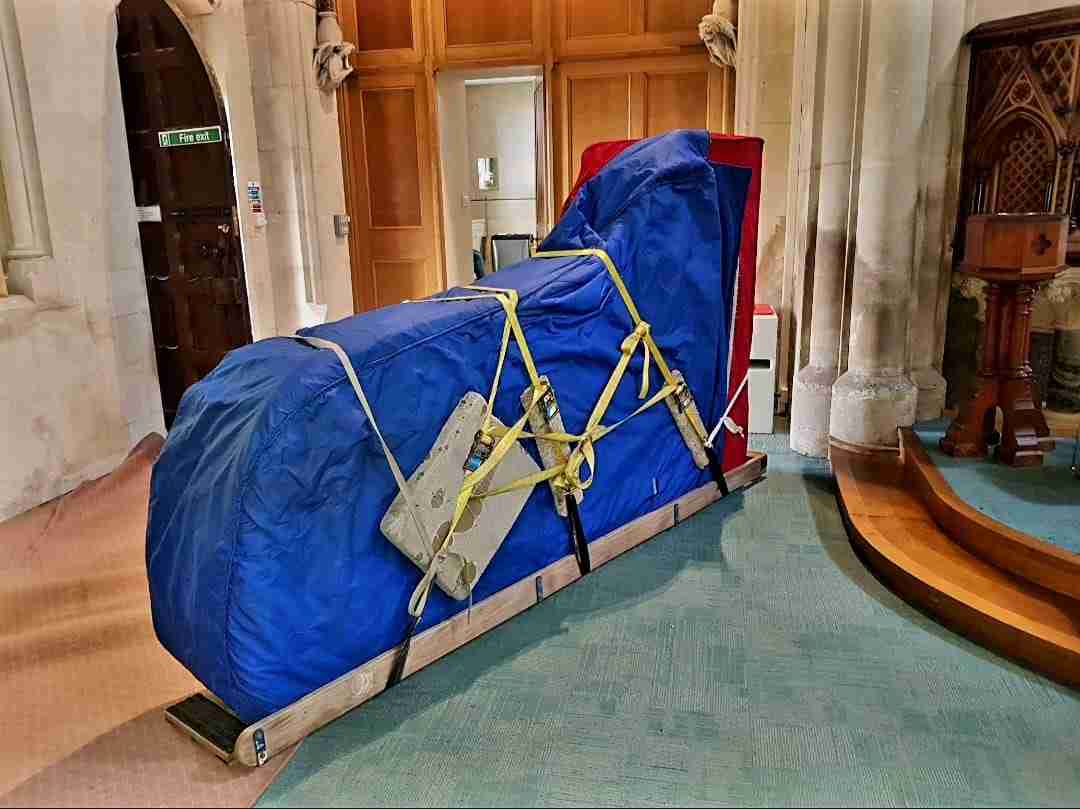
Heavy-Duty Moving Straps – For better grip and weight distribution
Piano Dolly or Skid Board – Especially for upright or grand pianos
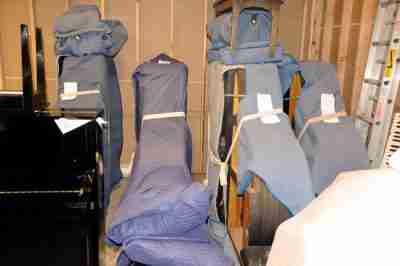
Moving Blankets – To prevent scratches and dents
Protective Gloves – For better control and safety
Ramps or Planks – Useful for stairs or van loading
Investing in the right tools saves money in the long run by preventing damage.
🧼 Tip #4: Prepare the Piano for Removal
Secure Loose Components:
Lock or secure the keyboard lid to protect the keys.
Detach legs or pedals on grand pianos if needed.
Wrap every part individually with moving blankets.
Use heavy-duty tape or stretch wrap—but avoid taping directly onto the wood surface to prevent damage.
🧍♂️ Tip #5: Hire a Strong, Skilled Moving Team
You’ll need a minimum of 3–4 people for upright pianos and at least 5 for a grand. Choose helpers who are:
Physically strong
Experienced in lifting techniques
Clear communicators
Assign specific roles for lifting, guiding, and spotting to ensure maximum safety.
🧎 Tip #6: Use Correct Lifting Techniques
Never underestimate the danger of lifting incorrectly. To avoid injury:
Always lift with your legs, not your back
Keep the piano upright and balanced
Avoid sudden movements and communicate constantly
Incorrect lifting is one of the most common causes of piano and personal injury.
🧗 Tip #7: Navigate Stairs with Precision
Moving a piano up or down stairs is highly risky. Here’s how to do it safely:
Use a plank ramp or skid board
Lift slowly and in sync with your team
Protect stair edges with padding or cloth
Always keep one person as a “spotter” above and below
Avoid narrow staircases unless absolutely necessary—consider professional help in such cases.
🚚 Tip #8: Secure the Piano in the Moving Vehicle
Transporting the piano correctly is just as important as getting it out of the house.
Place the piano flat against the truck wall
Use straps to anchor it securely in place
Avoid stacking anything on top of the piano
Ensure a soft ride by using suspension blankets
Temperature control is also key—avoid extreme heat or cold.
🕰 Tip #9: Allow Time for Acclimatisation
Once moved, your piano needs 4–6 weeks to acclimatise to its new environment. During this time:
Avoid tuning the piano
Keep it away from direct sunlight, radiators, or windows
Maintain stable humidity (ideally 40–50%)
After this period, hire a professional tuner to restore sound quality.
🧳 Tip #10: Consider Hiring a Professional Piano Removal Service
While DIY is possible, it’s not always advisable. Professionals:
Have specialist equipment
Are insured for damage
Know how to move pianos safely and efficiently
If your piano has sentimental or financial value, expert removal is a small price for peace of mind.
🧠 Final Thoughts: Smart Planning Ensures a Smooth Move
A successful piano removal is all about careful preparation, skilled handling, and the right equipment. Whether you choose to move it yourself or call in the experts, following these 10 piano moving tips ensures your cherished instrument remains safe and sound throughout the transition.
🧭 FAQs About Piano Removals
How much does it cost to move a piano in the UK?
Costs can range from £100–£500 depending on size, distance, and complexity.
Is moving a piano without professionals safe?
Yes—but only with the right equipment, enough manpower, and careful planning.
Do pianos need re-tuning after a move?
Absolutely. Wait 4–6 weeks before booking a piano tuner to allow it to settle.